1. Installing Python
This page will guide you through setting up your computer with the Python programming environment. You will need an active internet connection. We recommend closing all open programs on your computer before starting the installation process.
We will install the free Anaconda Individual Edition Python distribution. This distribution provides Python 3.9 (or a more recent release), several development environments and apps, and a large collection of commonly used Python packages (but not including guropipy which we will install separately). This task takes approximately 10 minutes to complete.
Note: Google Colab (https://colab.research.google.com/) is a convenient free cloud-based alternative Python platform. However, currently, it is only compatible with a Gurobi license that imposes problem size limitations.
1.1. Installing Anaconda
Tip: When visiting the Anaconda website, if you find your browser unable to display the entire contents then decrease the browser’s zoom setting.
Windows
Note: A more detailed/nuanced Windows installation guide is available here. However, the following below should be sufficient for most users.
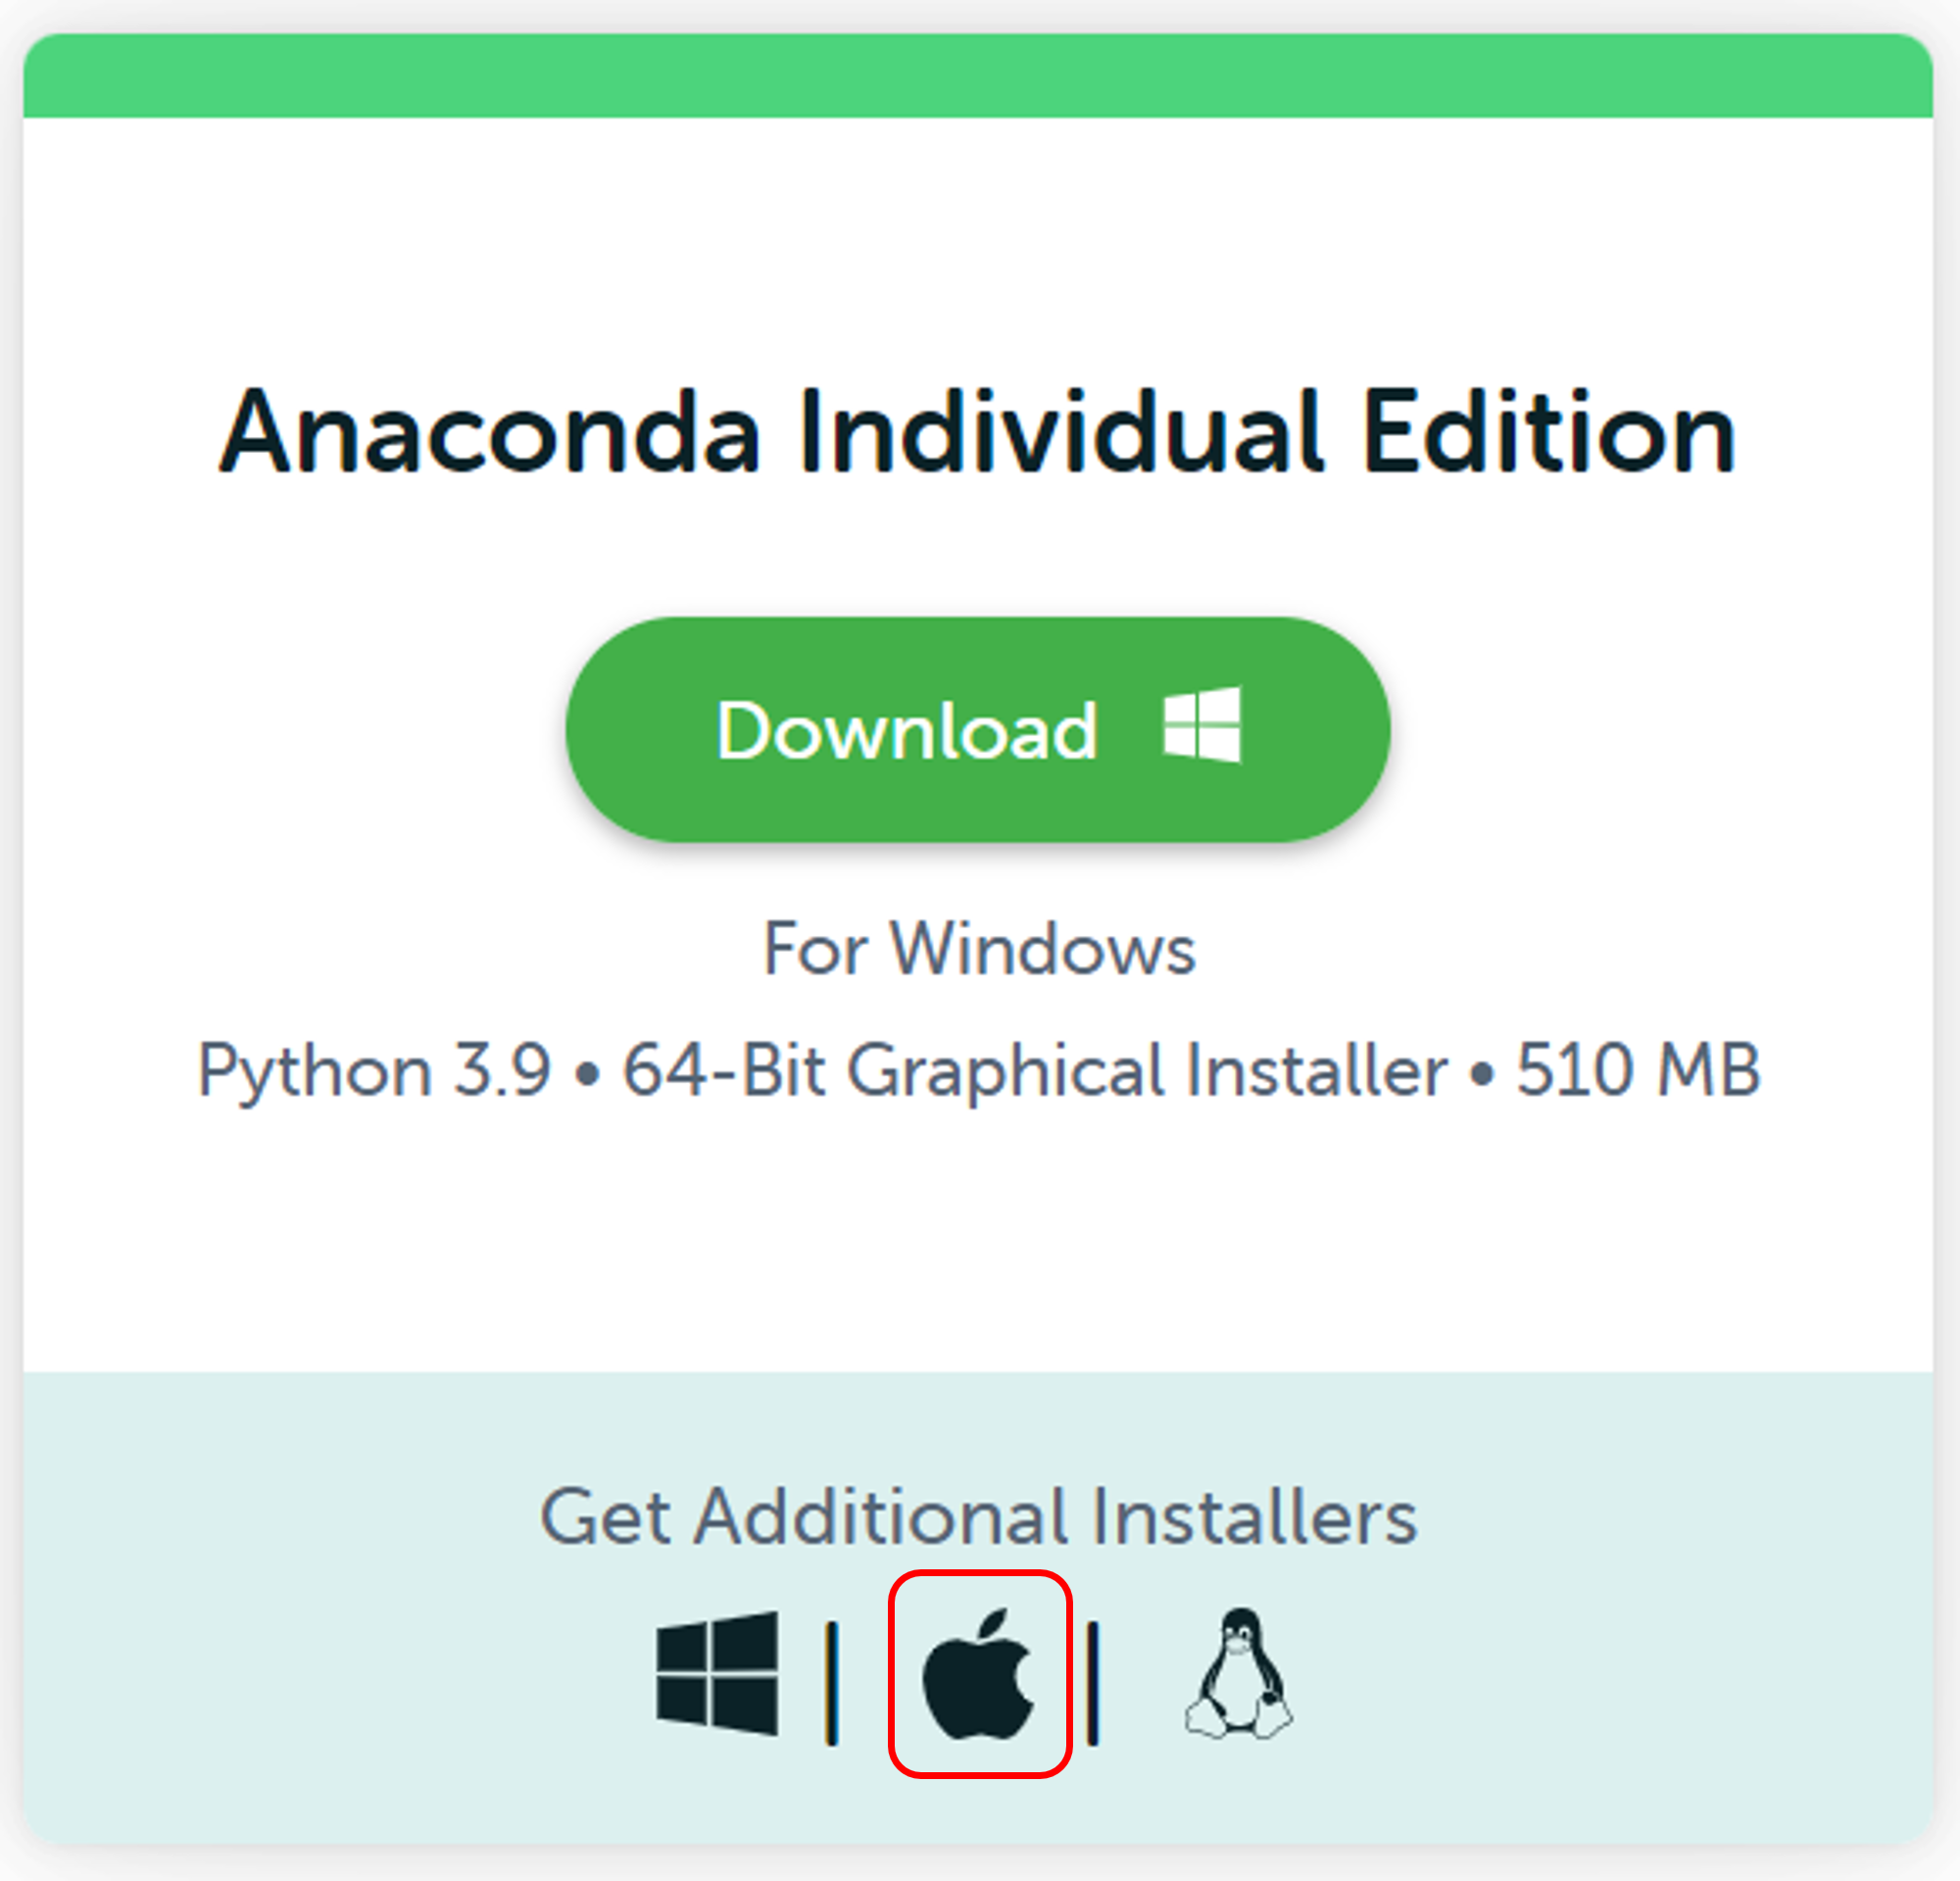
Visit https://www.anaconda.com/products/individual and click the Download button to download the Windows installer (see screenshot below). The download will start immediately. Meanwhile you may encounter a pop-up window asking you to create an Anaconda Nucleus or Cloud account. This is optional and can be skipped by clicking the x at the corner of the pop-up window. Wait until the installer (.exe) file downloads completely.

Double click the installer file to start the installation process. Complete the installation process after reviewing and agreeing to the license terms. We recommend using the default options throughout. You can skip the PyCharm installation.
macOS
Note 1: Since version 10.8, macOS comes with Python 2.7 pre-installed. However, this is not helpful to us because we need a Python 3 release. Python 3 is not backward-compatible with Python 2.
Note 2: A more detailed/nuanced macOS installation guide is available here. However, the following steps should be sufficient for most users.
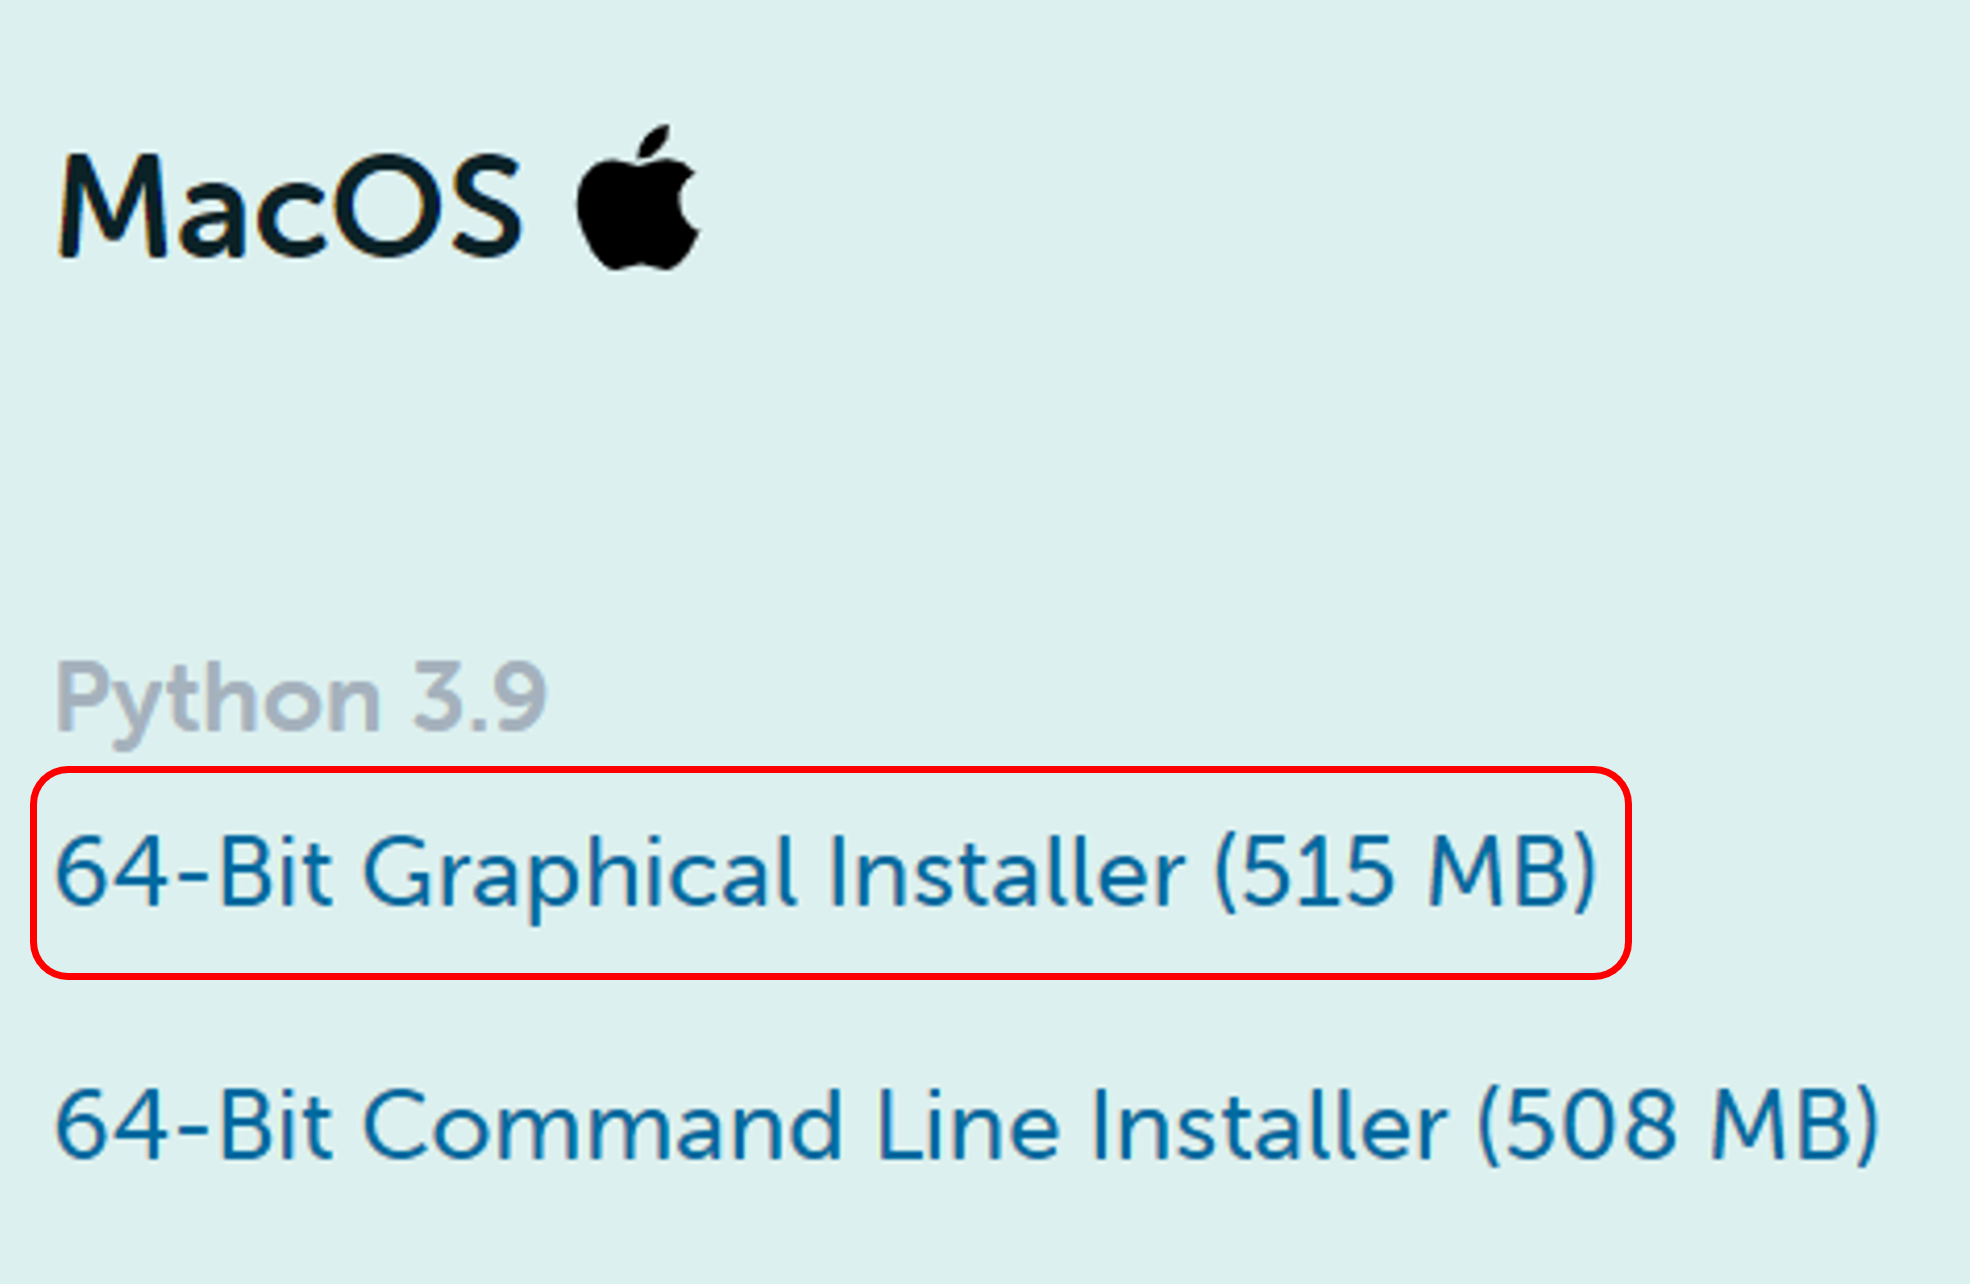
Visit https://www.anaconda.com/products/individual and click the Apple icon followed by the Graphical Installer link to download the macOS installer (see screenshot below). The download will start immediately. Meanwhile you may encounter a pop-up window asking you to create an Anaconda Nucleus or Cloud account. This is optional and can be skipped by clicking the x at the corner of the pop-up window. Wait until the installer (.pkg) file downloads completely.
Double-click the downloaded file and click continue to start the installation.
Answer the prompts on the Introduction, Read Me, and License screens.
Click the Install button to install Anaconda in your ~/opt directory. We recommend using the default options throughout. You can skip the PyCharm installation.
1.2. Testing the installation
Windows
Anaconda Navigator is a graphical user interface that is automatically installed with Anaconda.
Launch the program by clicking Start and selecting Anaconda Navigator from the menu or by searching for it in the search box. (You may need to be patient as it loads the first time). Navigator will open if your installation was successful.
Note: On some computer displays you may find that Navigator’s program window exceeds the screen size. Try resizing the window or, for a more permanent solution, go to File -> Preferences in Navigator’s menu, uncheck ‘Enable high DPI scaling’, and restart the program.
Mac
Anaconda Navigator is a graphical user interface that is automatically installed with Anaconda.
Launch the program by clicking Launchpad and select Anaconda Navigator. Alternatively, use Cmd+Space to open Spotlight Search and type “Navigator” to open the program. (You may need to be patient as it loads the first time). Navigator will open if your installation was successful.
Note: On some computer displays you may find that Navigator’s program window exceeds the screen size. Try resizing the window or, for a more permanent solution, go to File -> Preferences in Navigator’s menu, uncheck ‘Enable high DPI scaling’, and restart the program.